
This is my favorite sourdough bread recipe that I make almost every week. Whether you have lots of time or little, lots of starter or a little this recipe is fairly flexible. The result is a moist and tender crumb with a chewy crust. Delicious as is or toasted and works great for sandwiches and much more!
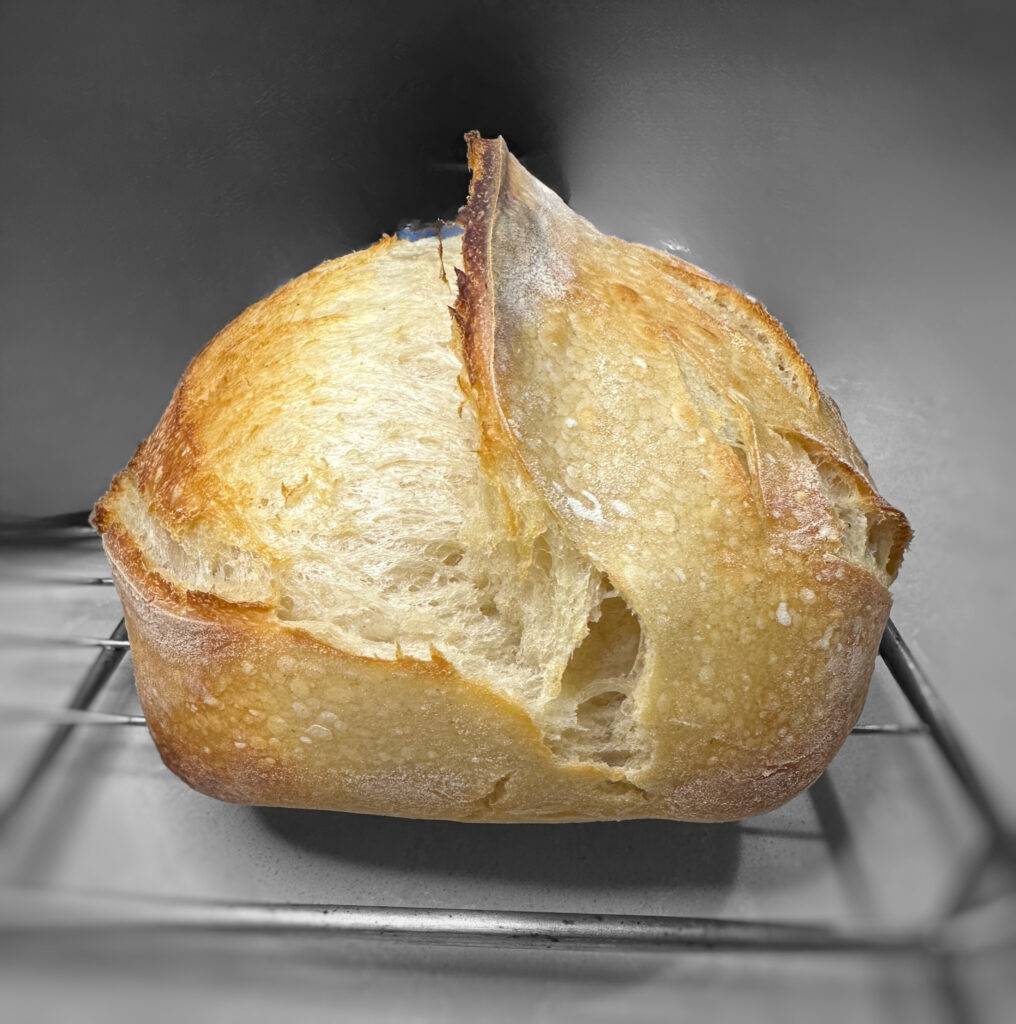
Artisan Sourdough Bread
Ingredients
Leaven
- 30 g active sourdough starter 100% hydration
- 100 g AP or bread flour unbleached
- 100 g water filtered or spring
Dough
- 683 g water divided(618+65)
- 1 T salt heaping
- 910 g AP or bread flour unbleached
Instructions
For the Leaven
- Mix up the leaven in a 3-4 qt bowl the night before.
- First add 30g of starter then 100g water followed by 100g flour.
- Mix with a sourdough whisk, spatula or spoon until combined. Cover and leave out at room temperature overnight until it has lots of bubbles or has doubled in size.
For the Dough
- The next morning add 618g of water to the leaven followed by the 910g of unbleached flour and mix with a spoon or spatula until flour is incorporated.
- Cover and rest dough for 30 mins and up to an hour. This is the autolyse.
- Add the remaining 65g of water and the heaping tablespoon of salt to the dough squeezing it into the dough with your hands until incorporated.
- After 30 mins begin your first of 5 stretch and fold sequences waiting 30 mins between each.
- After the 5th set wait 30 more mins and then divide the dough into 2 equal loaves and shape.
- Add shaped dough to floured banneton baskets or alternative.
- Place bannetons into a sealed plastic bag or container and into the refrigerator overnight or up to 3 days. If baking same day then let rest at room temperature until puffy and billowy.
Baking
- Preheat oven and dutch oven(if using) to 475 °F for about 30 mins.
- Remove first loaf from the fridge and place your silicone sling on top then flip dough out onto it. Score dough with a lame or sharp knife.
- Place the dough and sling into the dutch oven or alternatively a bread pan with another stacked on top to trap steam.
- Bake for 25 mins with the lid on and then 7 mins with the lid off. Lid of time is for browning so you can adjust the times based on your preference.
- Check doneness by knocking with your knuckle on one of the darker spots of the bottom of your loaf to check for a hallow sound. Alternatively and for most accuracy check the internal temperature to reach 205-210 °F.
- Remove loaves from dutch oven or bread pan immediately and cool on a wire rack for at least 4 hours before storing.
Notes
- I have used both active and cold sourdough starter for this recipe. The more active the starter, the better the rise and lighter crumb. The older the starter can result in a more dense crumb or even gummy if it’s too hungry. Everyone’s starter is a bit different so you may need to feed yours a few times before using it depending on the result you desire.
- The AP flour I use is 11.5% protein content
- I don’t use my tap water in my starter or dough because of the chemicals its treated with in my city that interfere with the microorganisms.
- I store my bread that I want to have out for eating in a zip tight bag or to maintain a semi crisp crust I wrap it in parchment paper or a paper bag for the first day only. After the first day I transfer to a zip tight bag.
- This bread freezes very well in a freezer bag.

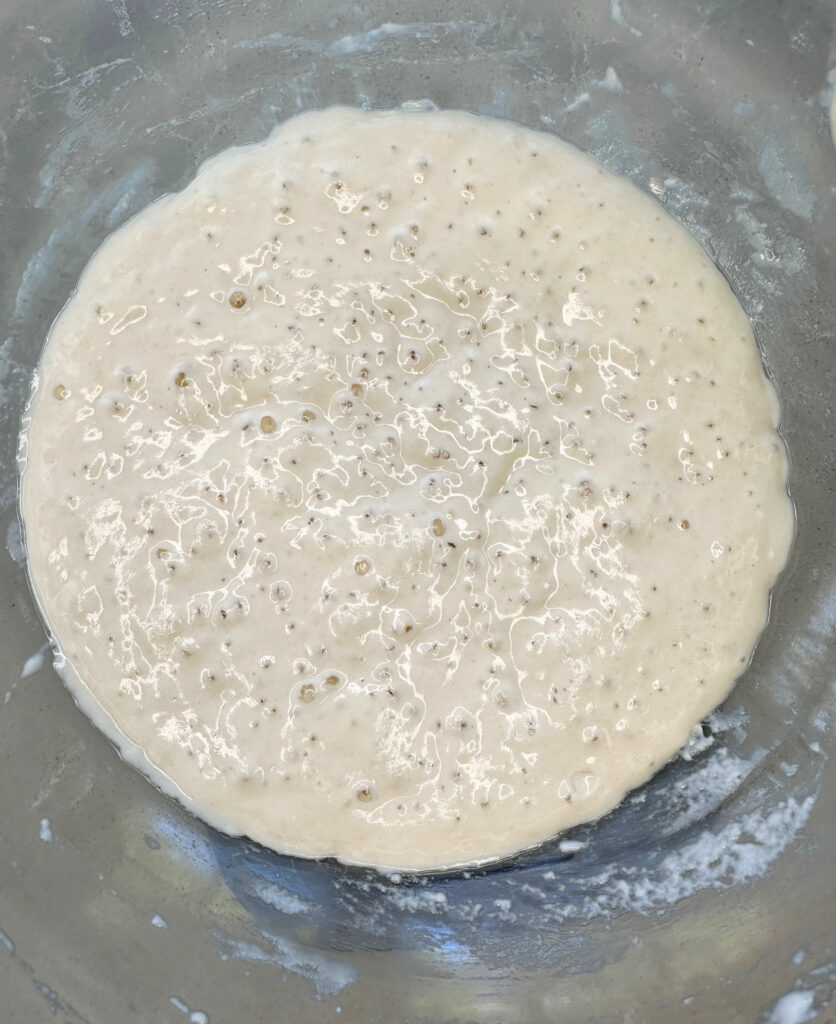
Bubbly leaven
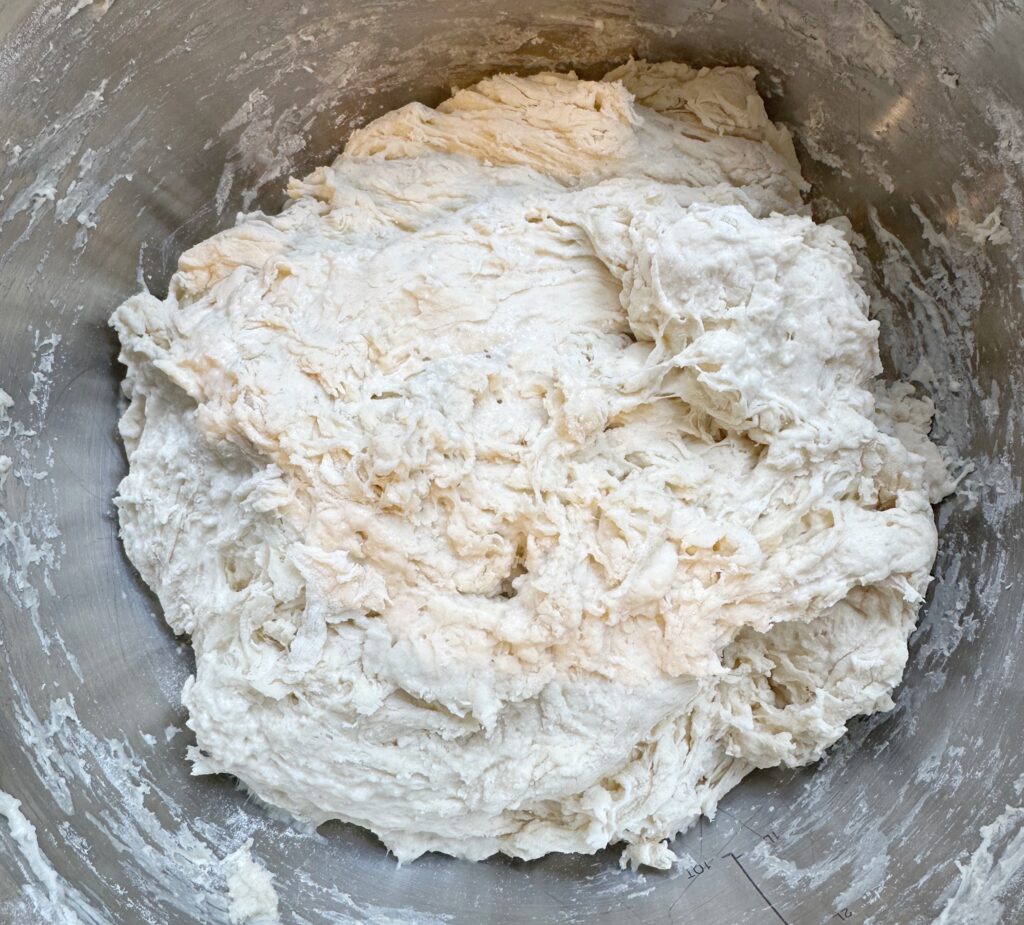
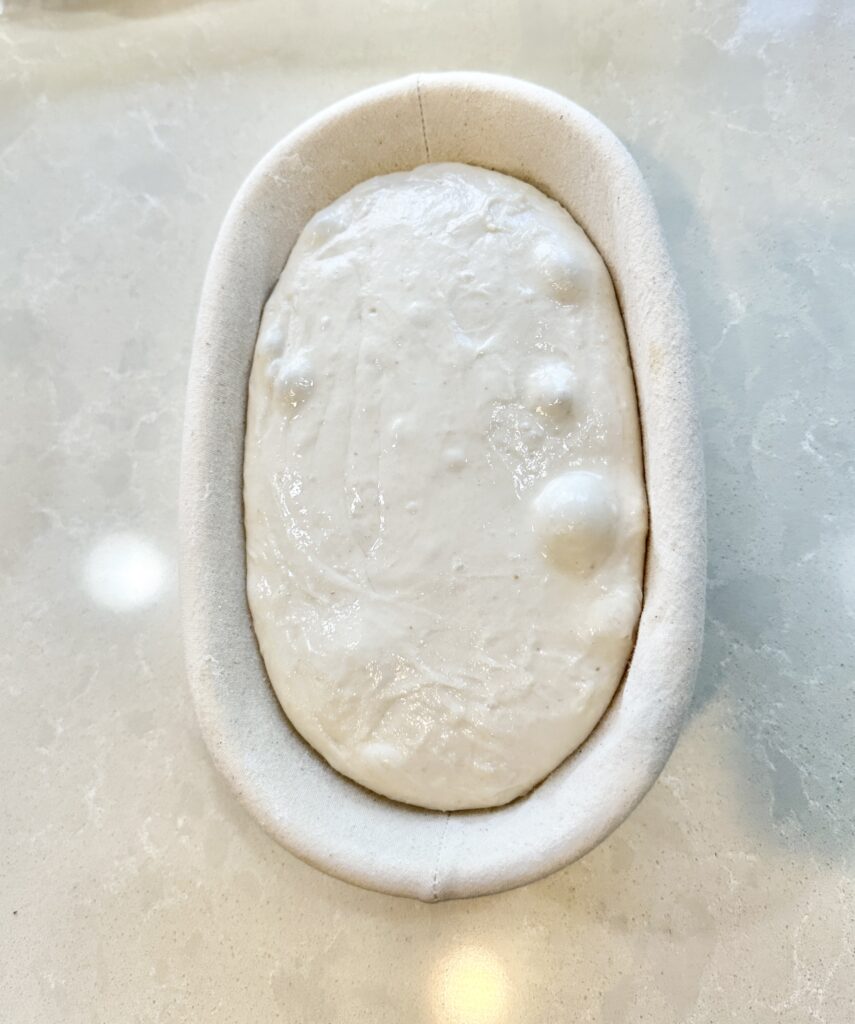
First mix without salt added
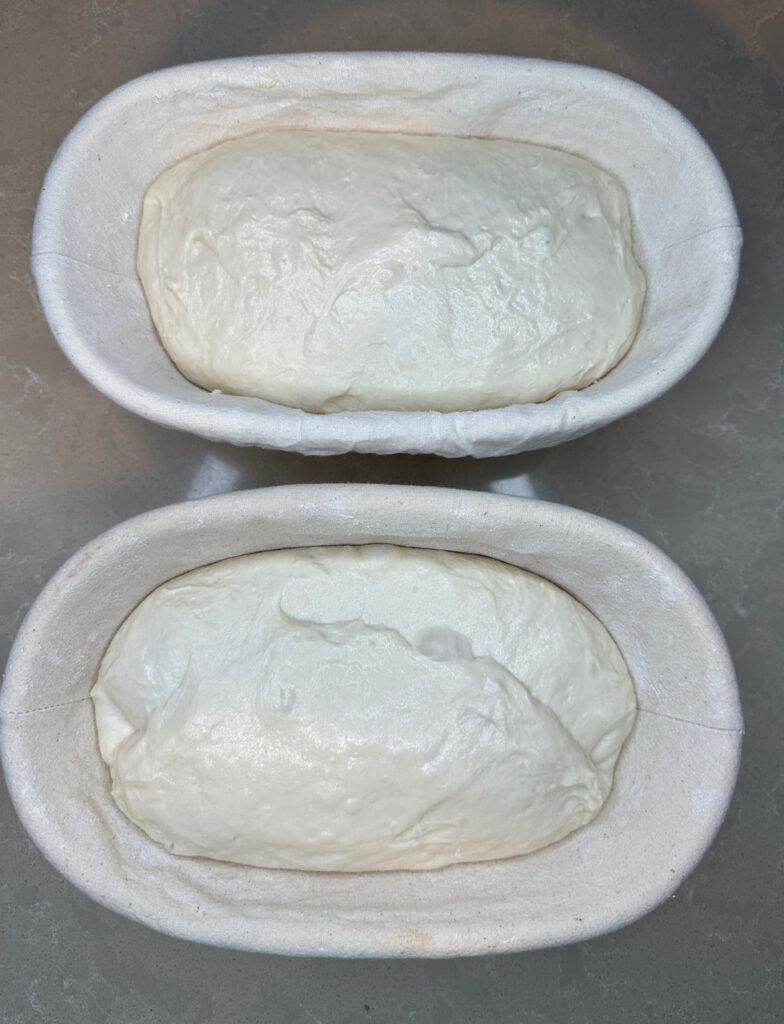
Shaped dough in banneton baskets
Additional notes
Sourdough starter and hydration level: A sourdough starter is a mixture of flour and water that has been “fed” to cultivate natural/wild yeasts/microorganisms that exist in the flour and the air around us. This recipe calls for a 100% hydrated starter which means the starter consists of equal weights of flour and water. I get good results with recently fed and unfed starter for this recipe but your starter may be different. Most professional bakers would recommend a well fed and active starter. Click here to learn how to make and maintain a starter.
How do I know my leaven is ready and what is a leaven? Your leaven is the mixture of flour, water and active sourdough starter that gets mixed up the night or hours before adding the whole of your sourdough bread ingredients. The leaven ferments and is what makes the dough rise. The leaven is ready to use when it’s double or triple in size, has lots of bubbles on top and has a curvature to it or has just started to fall. Mine takes about 10 hours. The time it takes your leaven to be ready depends on your starter and the temperature of your house. You might be thinking this sounds a lot like an active starter and it is… The reason to make a leaven is to assure it meets the specific requirements such as hydration level and flour type for your recipe.
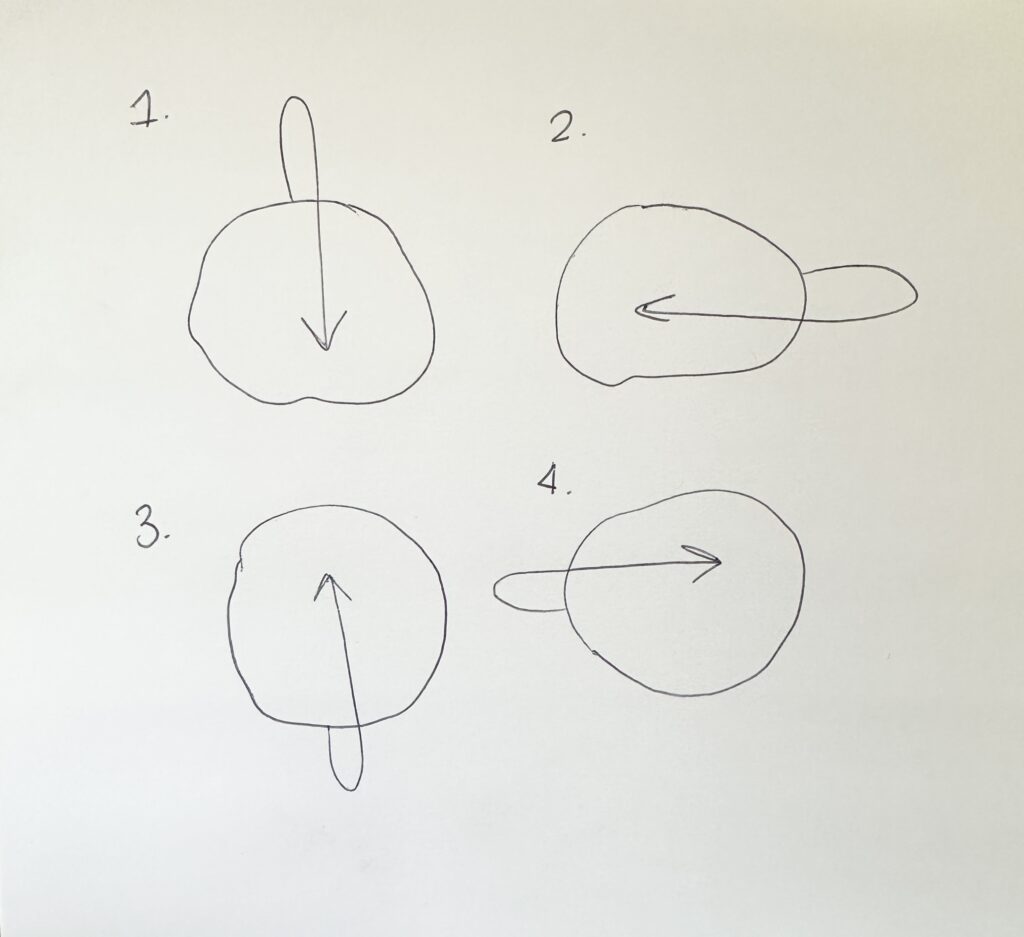
How to perform stretch and folds: Get your clean hands wet with water and pull the top of the dough up and over itself. Next, rotate your bowl 45° and repeat this 4 times so that each side has been folded over itself.
Shaping your oval loaf or bâtard: Shaping is a struggle for me but this video by breadtopia shows one method that has worked well for me.
Banneton basket and alternative: I use an oval banneton basket with a cotton liner that I purchased off Amazon. Before I purchased these I made round loaves(boulè) with a cotton towel placed inside of a colander or bowl and heavily dusted with flour. Rice flour seems to work best and is preferred by most bakers for preventing the dough from sticking to the towel. If you’re using brand new baskets with the cotton liner you will want to sprinkle more flour than the uses to follow. You may want to rub the flour into the cotton fibers with your fingers because my first few loaves stuck to the liners. This only happened the first few times. To store your banneton baskets and liners tap or brush out the excess flour and let air dry before storing in a dry place. I place mine in the oven when its still warm from the my last bake and leave them overnight to fully dry them to prevent mold. The next day I place them in a cupboard above my oven where they will stay clean and dry.
Silicone bread baking sling and alternative:
The sling I use can be found on Amazon and was a gift to me. The sling makes it so easy to flip the dough onto and then in and out of the Dutch oven. Before I owned a silicone sling I would cut parchment paper in the same shape as a sling or even more simple just a strip as shown below. This gets the job done but the cons of it are cutting it out and sometimes the handles rip when lifting the bread out at the end so be careful! If you’re using standard loaf pans cut a piece of parchment appropriate to lift in and then out.
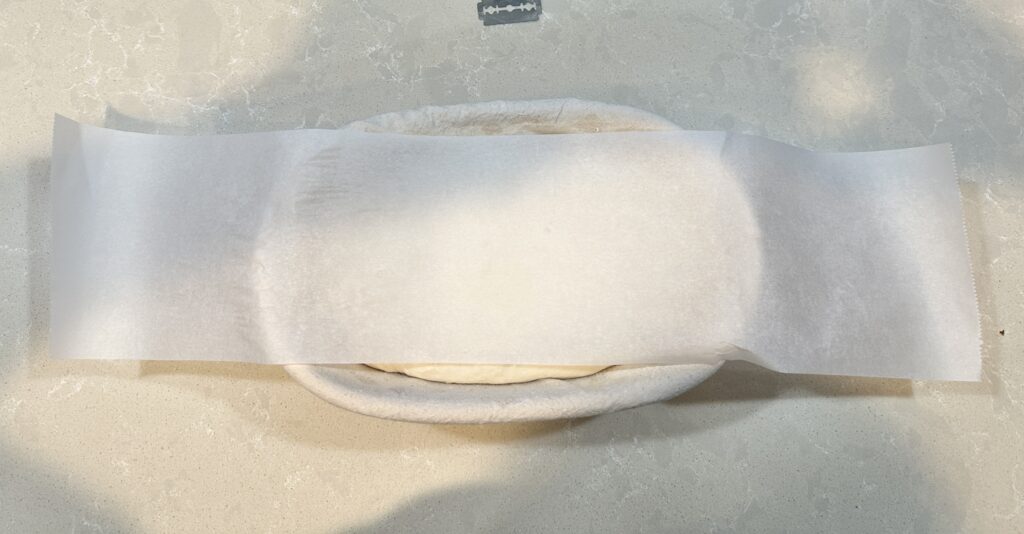
This simple cut of parchment works if you don’t have a silicone sling
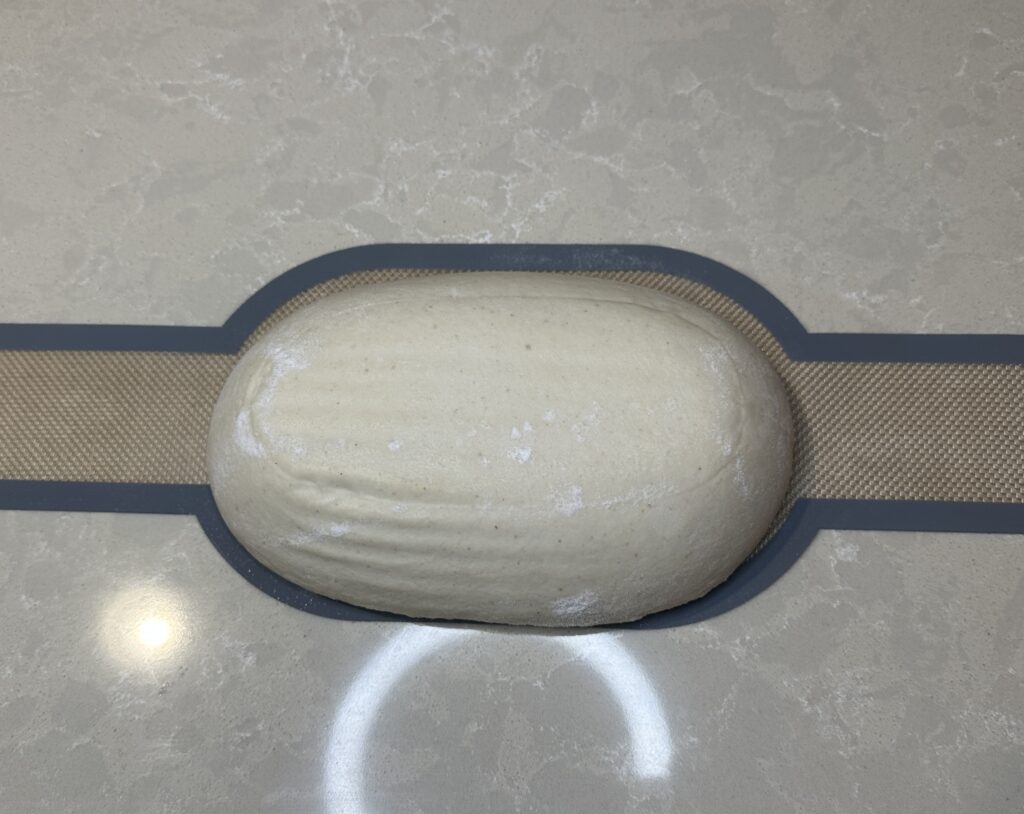
Dough positioned on the silicone sling before the scoring(try to position better than I did for more even baking on the bottom
More details on the Dutch Oven
For this recipe I use a 7qt Dutch Oven(DO) and place it on the lowest rack of my oven. Technically an oval DO would be best seeing as I make slightly oval loaves but I don’t have one. You may have read that some people put a wire rack or rice in the bottom of the DO to prevent burning. I’ve also read of placing a sheet pan on the rack beneath the DO. My oven is very small so I cannot use the sheet pan method and did not like the rice method due to the rice burning and smoking. I like to use coffee beans because they hold up well and smoke wayyyyy less and when reused not at all. I sprinkle a small amount just to lift the bread slightly off the bottom so it doesn’t get too dark. The more evenly spaced the more even the bottom of your loaf will brown. For more even browning, a layer of parchment could be cut to the shape of the bottom of your DO and this will also prevent any coffee beans from getting embedded in your loaf.
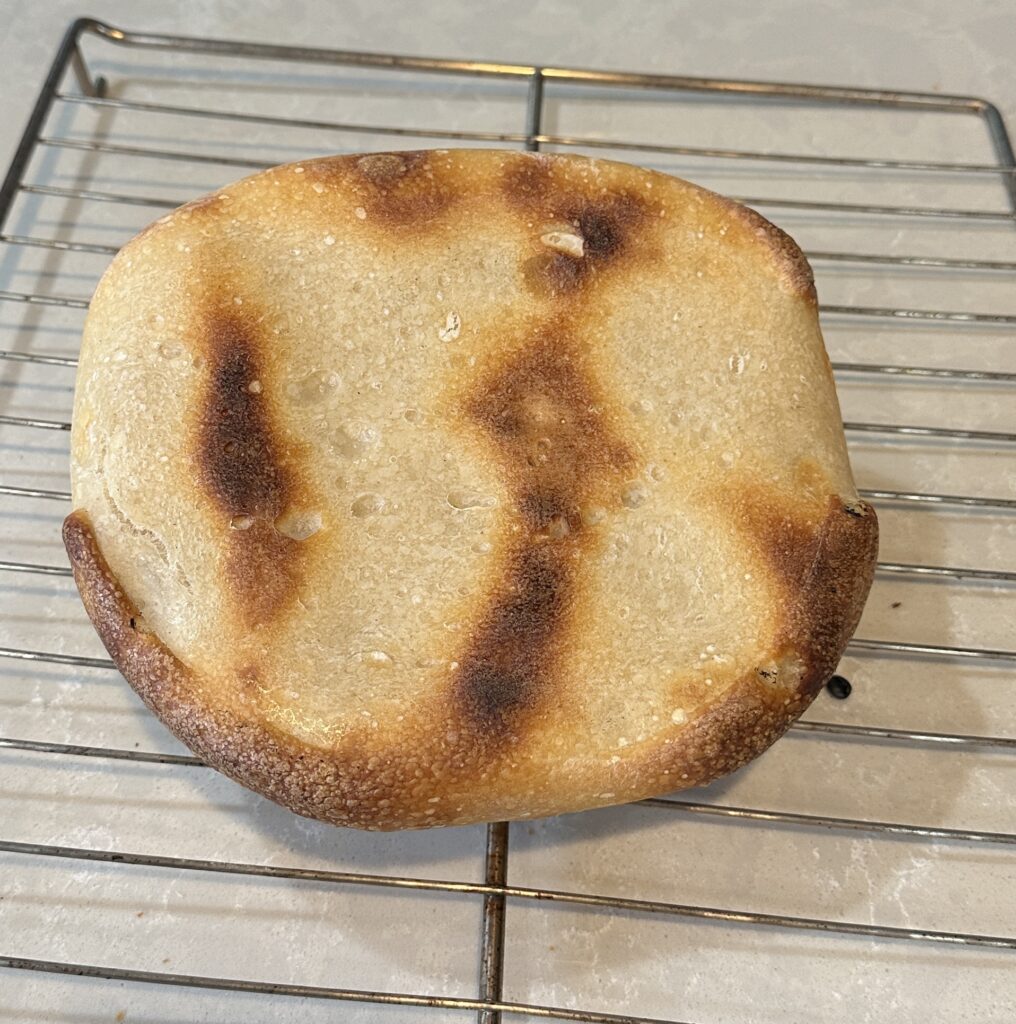
The bottom of my loaves using a silicone sling and the coffee beans. If you strive for more even browning see notes above
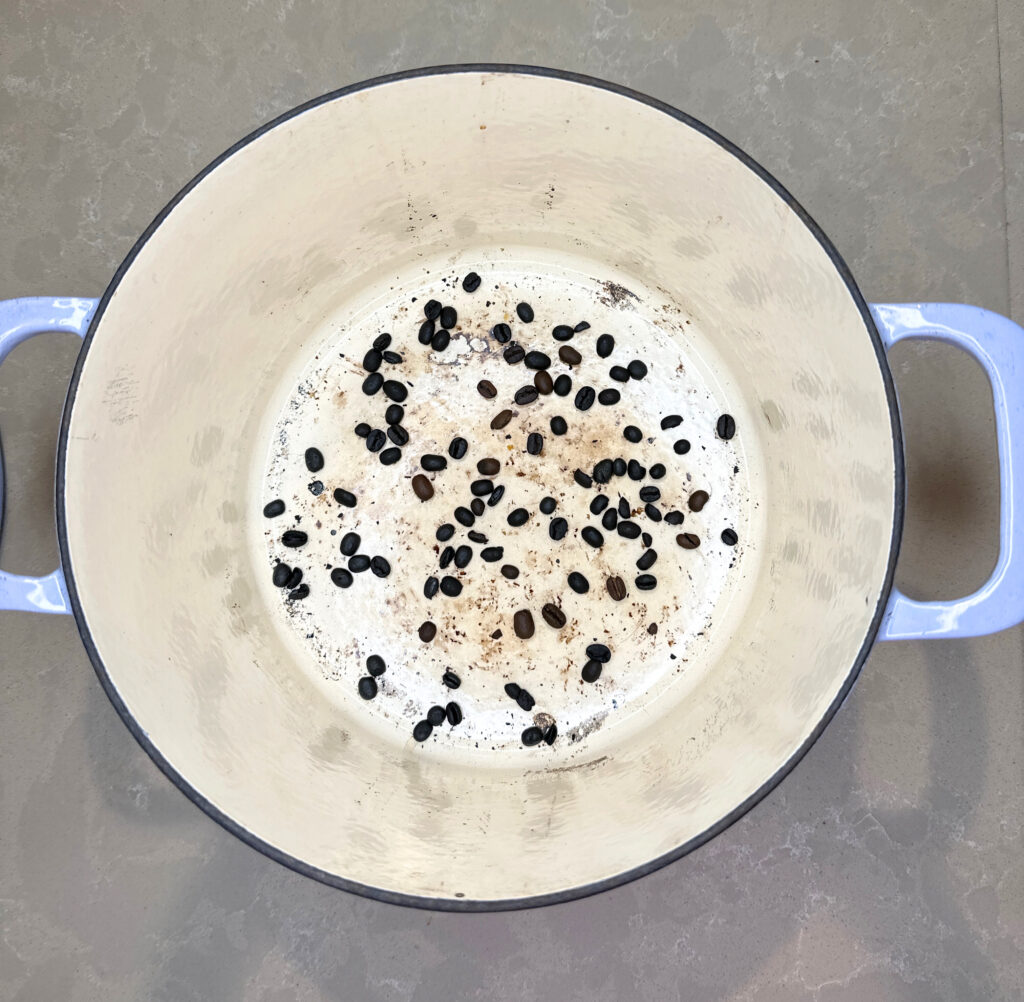
Coffee beans at the bottom of my 7 qt Dutch oven
Scoring your bread
The better the score the more uniform your loaf shape will be. The scoring controls where your loaf opens up when it rises in the oven. You can see in this picture that I would have benefited with a deeper score because my loaf opened up outside of my score line. Ideally the depth of the score should be around a quarter of an inch and no more than half an inch and scored at a 30° angle. There are so many designs and techniques. Check out this video for further details on scoring your bread.
How long should I refrigerate my dough?
3 days seems to be the magic number for the best flavor and overall outcome. If you’re desperate for a loaf you don’t even have to do this step. After the final step before refrigeration the dough can stay at room temperature for 3-4 hours or until puffed up and then baked. The refrigeration process is also called a cold proof or cold ferment. I prefer the flavor and health benefits along with dough handling and scoring after the 3 day ferment. Cold dough is so much easier to remove from bannetons and to score. If you’d like to read more about this process and its benefits I found this article very informative.
Storage
I place my extra loaves in a freezer safe bag into the freezer for up to a few weeks but I’m sure they will last months frozen. The loaf I want to eat daily goes into a zip tight bag on the counter. The crust softens after it’s placed into an airtight bag or container so if you strive to preserve some of the crispness without toasting then you will want to store it in a bread bag/ paper bag or wrapped in parchment paper. Toasting or heating the bread back up in the oven for a few minutes will also crisp the crust back up a bit.
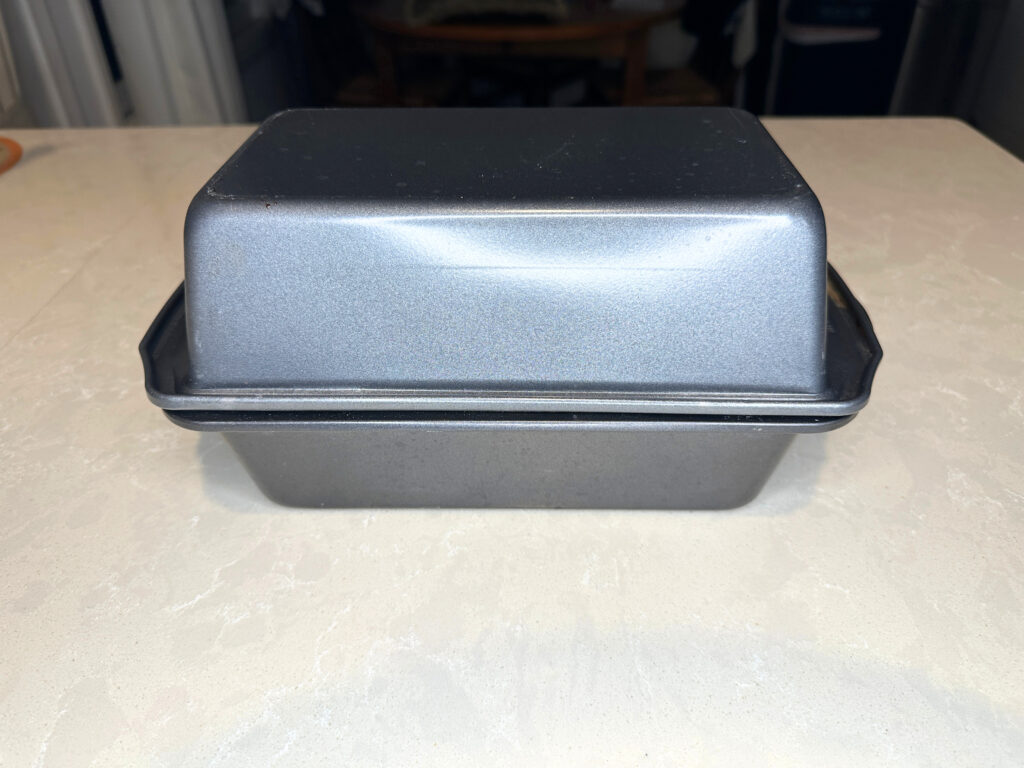
No Dutch Oven? No problem.
As I briefly mentioned in the recipe instructions; two standard loaf pans can be used in place of a dutch oven. To use this method, stack one on top of the other as shown in the picture below. This might even end up being your preferred method to baking your loaves. The benefits would be more cost efficient if you don’t want to invest in a dutch oven or heat your oven for the time to cook two loaves, don’t have the space to store it, don’t want to lift one in and out of the oven and less time that your oven is on. Another potential benefit is the shape of the loaf and slices will be smaller to fit in a toaster or for storage depending on what you prefer or have. My oven is small so if I’m cramped for baking time I can bake both loaves at the same time.

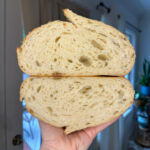
I have made sourdough for over 20 years and this is the best loaf I’ve made.
Thank you Mark!