
In this post I will first explain how to make a basic starter and later provide a few factors for a less basic starter.
Ingredients
For a basic starter use unbleached flour and tap, filtered or spring water. Mix 30g of unbleached flour and 30g of water, cover and leave at room temperature until you see bubbles form. The bubbles mean fermentation is happening and the natural yeasts and microorganisms are multiplying. This usually takes about 3 days but could take longer due to varying factors.
The Feed
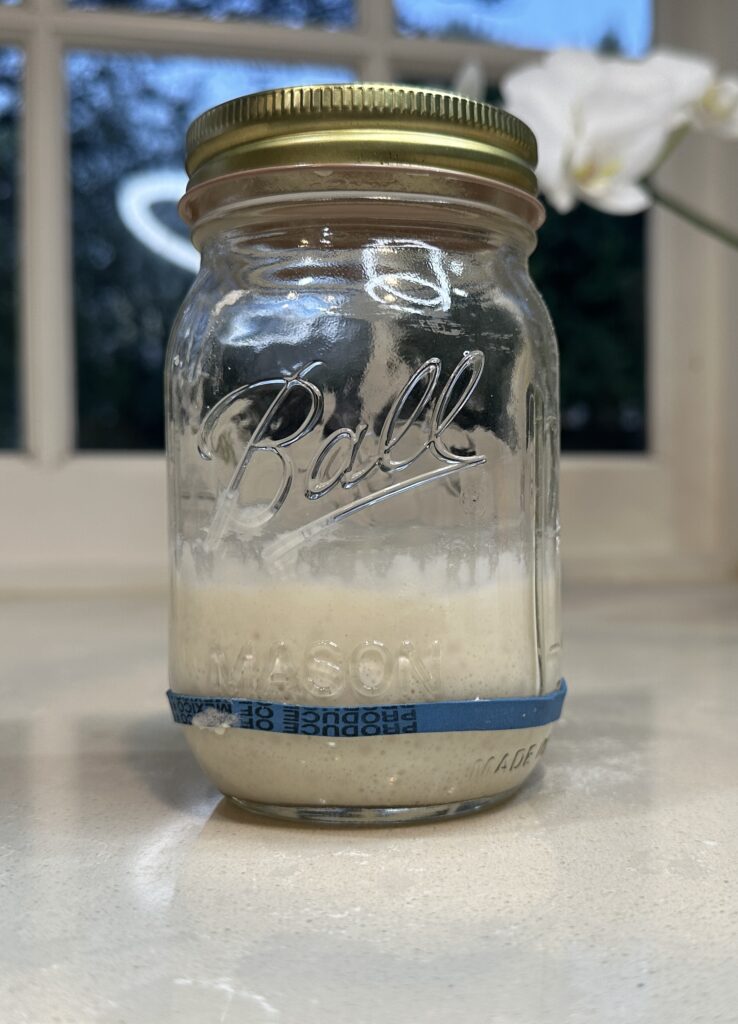
Once you see bubbles you can start to add or in other words “feed” your starter equal weights of flour and water. Start by weighing 30g of starter, 30g of water and 30g of flour into a clean container, stir vigorously and then cover. Discard whatever was left over into the garbage. In your new container you have about 90g of starter and have a 1:1:1 feed ratio. Repeat this every 24 hours until you see the starter rise and fall. Do not feed until you notice it start to fall back down the container. It’s a good idea to use a clear cylindrical container such as a jar or a rectangular glass or plastic container and keep it scraped or wiped above the initial starter line so that you can make a mark of the starting point and keep track of any rise and fall. I use a dry erase marker or a rubber band fixed around the container to track the starting line. In the picture above you can see that the starter has fallen down the side of the jar and had more than doubled in size. I see this by the vertical globs of starter above the top of the current starter line.
The Fall
The fall of your starter is when it has reached its maximum rise and literally begins to fall or sink down. This is visible when there’s no longer a curvature to the top of the starter but instead it starts to look sunken. This happens when the yeasts and microorganisms have eaten and multiplied to the maximum and then start to die off due to lack of food. This process may happen in a day or take a week depending on multiple factors such as flour and water type, room temperature, overall surrounding environment. After this happens increase your feedings up to twice a day(only if your starter is falling sooner) until your starter at least doubles within 4-6 hrs at room temperature of 72 °F. If your house is warmer or colder the hours may vary. This process could happen in a week or take multiple weeks and requires some patience and persistence.
The Finale or more so, the Beginning…
After your starter reliably doubles within roughly the above mentioned time frame and criteria it’s ready/safe to use and the discard can now be saved if you desire. Let the sourdough obsession begin…
A few technicalities
Water: I recently found out that my city tap water contains chloramine which can hinder the starters ability to rise due to inhibiting the yeast and microorganism activity. My starter has survived but it was slower to rise. Since I switched to using filtered water from the refrigerator that I keep up on changing the filter(also make sure your filter is effective at filtering chlorine) I have used bottled spring water that seems to have worked the very best over the years which is likely due to the minerals it contains and yeast and bacterial love them. Hard tap water may suffice if it’s not chlorinated although I still had successful loaves of bread on tap water but again, they just took longer to make.
Flour: The flour you use can impact the activity of your starter along with the flavor and texture of your bread. I have been using Kirkland Signature all-purpose organic unbleached flour that is 11.5% protein content. Flour with higher protein content such as the one I use or a bread flour provides more nourishment for your starter and results in stronger gluten development which then results in lighter, more airy bread. Whole wheat may produce a more dense bread but a totally different flavor profile due to the minerals in the bran. Rye flour produces a more earthy or nutty bread flavor and is a good boost for your sluggish starter due to the nutrients, enzymes and microbes that the yeasts in your starter love.
Leave a Reply